Freddies handmade jewellery

Friday, 15 February 2019

New! Edgy handmade beaded ammonite pendants

Peyote stitch has become a bit of a thing for me as I feel you've probably already worked out by now. A published knitting author and previously prolific workshop tutor, it was while teaching at a Craft Exbilbition up in glasgow that I was dazzled by a participant's necklace from across the room.

She pointed me in the direction of designer Laura McCabe, and the rest is history. I was hooked!

Peyote stittch is the art of weaving beads together to form a meshwork, a perfect way to bezel crystal rivolis, or indeed, anything.


After wearing my pendant around the office, it wasn't long before I was inundated with orders from colleagues for one of their very own. And that's when my ETSY shop was born.

Red choker crystal pendant on mixed race neck
My frustration at never finding necklaces in the lengths I want led me to string my own beads from a very young age.
Having gained a bit of confidence with the technique of bezelling using Peyote stitch, this year I started bezelling ammonites I had discovered last year on the Jurassic Coast, as well as others I'd collected from online sellers in Madagascar and India (just because they were pretty, really!)

I'd always loved the combination of blue and brown. This ammonite slice inspired me to take it to the next level using a Swarovski crystal ring.

Digging out spike beads from a failed design severak years ago that had been frustratingly shoved under the bed to gather dust, something really special happenned. These edgy, part art-nouveau, part punk pendants were born.

Inspired by the sun and the moon, to protect this limestone madagascan ammonite from damage, I've polished it and added a layer of glitzy gold wax.
I'm pretty convinced I've discovered a personal design style that I'm totally happy with and would wear any time. I've always had a mixture of weird shaped beads that I never knew what do do with. With these, I can be really creative and just let loose.

Hematite ring beads I'd bought years ago all of a sudden found a new lust for life, with a chinese bicone crystal at each centre.

Tuesday, 22 January 2019

Advice for new candle makers

So I used to make candles with my nan when I was a little girl. I quite vividly remember wandering to Woolworths with my pocket money, buying a milk pan and having a bash on my own (I can't have been older than about 11), and then tipping any excess wax down the sink.

Needless to say, my mum was less than impressed. And I was rapidly put off making them in case I broke the house by blocking the pipes again!

So yeah, when I spotted an unloved candlemaking kit knocking around on Shpock, it definitely sparked my interest.

Without batting an eyelid, I set to work and bashed out two massive batches of soy wax container candles. I used what I realised later, was Eco Wax 464 with a 5% fragrance load.

Having got enormously over excited at the outset, I'd also ordered a bunch of very unspecific wicks on Ebay. These all got mixed into the batches too.

So yeah, here is what I learned:

1. Unspecific wicks are pretty useless for making candles

Turns out there's a bit of science to candle making. Wicks that were supplied with the kit I bought, were specific to the type of wax used and the size of container. My duff ones all did something called 'tunnelling' (that is, burning by boring a hole down the centre of the candle and barely melting any wax around the edges) which also meant very little wax was melted and they didn't smell at all.

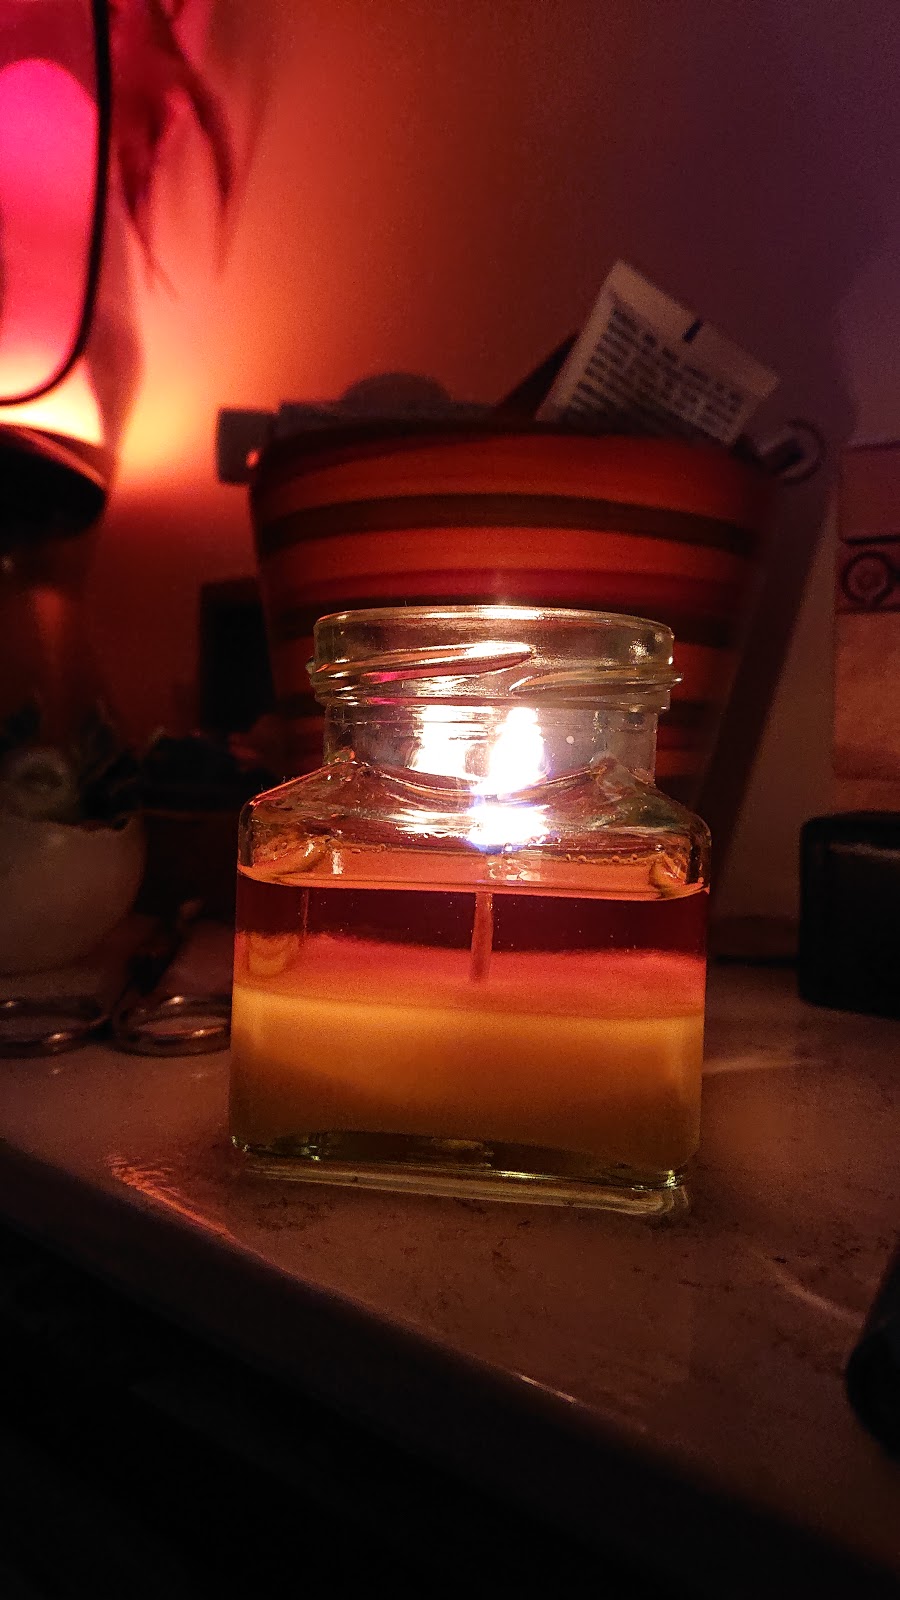
Although my research is yet to indicate what caused the bubbles in this candle, 
this is a better burn than my earlier tests - wax is melting to the edge and the 'milk pool' of melted wax isn't too deep.
I've since done bunches of research into which wicks I should be using and I'm as good as starting all over again, from scratch.
Wicks that are too hot for the container will blitz the scent too quickly as they melt too deep a milk pool.
I've been told 1/4 in maximum melted wax pool is the indicator of a good wick fit.

2. The same % fragrance load to wax ratio, doesn't work for every fragrance.

I just went straight in with my kit instructions and presumed that 5% of whatever scent, added at the correct temperature, would do the trick. It didn't.

I've now learned that Eco Soy 464 wax is generally a tricky one for getting a decent scent throw. I'm thinking next month I might swap to a different wax type, but apparently everyone has different preferences. I like the idea of soya as it's eco-friendly, but apparently a paraffix/eco mix suitable for containers (as it won't hold it's shape marvellously when used in moulds) might give me a better scent throw.

Did you know: It can take up to 10 days for a candle to fully cure. Candles lit before this time may have a tendency not to smell at all.

I could totally always try a higher percentage too, apparently 5% is pretty low.

3. You can't just go out and sell them

So there's a few things here.

Firstly, labelling. You need to display adequate safety information and any safety information about the chemicals you're using as fragrances, which are potential irritants. I splashed around ebay buying all sorts of candle scents from different suppliers and am now retrospectively having to go back to all of them to provide me with the necessary legal information which I must add as a printed label if I choose to sell them. Good to have on file, regardless.

Secondly, insurance. If someone burns themselves, or worse - starts a fire using one of your candles, you have to have insurance. If they take you to court without any, you're in trouble. UK insurance is pretty decent cost-wise but if you want to sell to America (which is 'high-risk'), be warned - prices skyrocket.

4. It's going to take quite a lot of experimenting before you have a product you're happy to sell

This is pretty much where I'm at. I'm not happy with what I've already produced and I only really sell stuff to raise money for charity anyway. So it's going to be a while before Freddie candles hit Etsy. For now at least! I'll keep you posted on how the process goes.

5. Decorations are potential fire-hazards

My friendship bracelet idea is still viable - but I need to add printed warnings to make sure people remove the decorations before they light the candles, Shown: Sea Breeze, Sandalwood.
I've got so many ideas for horror film-themed candles, father's day candles and spring botanicals ranges that I've gone off in all sorts of directions. What I've discovered is I need to reign it in and hone the basics first.

So if you're new to this like I am - my advice would be to be patient, do your research and leave plenty of time for curing and testing. Keep lots of notes and get all the information about any scents you buy up front. I'm going to wait until I've perfected the formula before I even start thinking about product design!

Good luck!

Wednesday, 9 January 2019

Hand-strung low cost freshwater pearls inspired by Jersey

Pearls have always caught my eye, ever since I was little.

But not traditional pearls.

I nearly always wear a black choker made from onyx, but pearls are so much more special.

After falling head-over-heels for a black pearl string I came across, I ended up teaching myself how to string them. And I'm happy to be able to now share my creations with you!

I was on Jersey a couple of years ago, writing an article for Woman's Weekly (absolutely amazing island, I can't wait to go back). In the airport on the way home, we were delayed, so I was blessed with a good couple of hours or so to parouse the airport shops.

My article for Woman's Weekly magazine

Dazzling in one of the jewellery outlets was a ethereal-metallic black pearl string with an irridescent finish. They totally spoke to me. I don't remember what they cost, but they were well out of my price league. Probably Tahitian pearls. I don't actually remember.

Those that know me will know I pretty much always wear a choker. I started off beading because I couldn't buy them anywhere in the right length (my neck is pretty narrow), so I gave up and started making them myself.

Naturally dyed using potatoes, these are known as 'peacock' pearls for the subtle and reflective cosmic blue, green and purple hues.
So after two years of persevering with what I can only describe as an 'extremely fiddly' technique, I've finally got the knack. And I have recreated that most gorgeous necklace that caught my eye.

I'm completely thrilled to finally be sharing them with you on my Etsy shop! I've found some amazing natural colours of pearl and just keep falling in love with them all. I'm just working on sourcing some nice vintage boxes and hopefully will be able to pack these up in the most amazing box too.

Saturday, 15 December 2018

Imperial Bauble by Julie Ashford - a Christmas gift for a friend

After a very lengthy ordeal with a very incompetent estate manegemtn agency, one of my colleagues exchanged on her brand new house a few weeks ago. I was so excited for her!

I really wanted to do something special for her, she's easily one of my favourite people. So when I saw Julie Ashford's brand new Imperial Bauble design pop up on Bead and Jewellery Magazine, I couldn't resist. I knew it was the perfect thing.

triangle beaded mesh with superduos and crystal rivoli, red and gunmetal grey
During the early making stages, I quickly fell in love with this medieval colourway

After ordering a kit from Spellbound Bead Co in the frosty white colourway (will totally make a gorgeous wedding gift for the next pair I know that gets married post-November), I got delving into colour options. I know my most popular colourways are always based on a custom order - usually colours I wouldn't normally put together.

So when this lovely lady said she was decking her new halls with red and grey, I set to buying every silver and red bead imaginable - whether it was needed for this stunning pattern, or not!

triangle beaded mesh with superduos and crystal rivoli, red and gunmetal grey
Like, I've never seen Game of Thrones, but this is Game-of-Thronesy, right?

I ended up going for a red bauble, with red Swarovski crystal rivolis and pale grey rondelles. And from the bottom of my stash I'd dug out some gunmetal-coloured size 8 beads to set the whole thing off. At least, I thought they were size 8's...

To form the curvature of the waves around the bauble netting, a variety of different seed bead sizes are used. I've nmever had more respect for Julie Ashford as I now do, having made one using one bead in the wrong size.

Bauble with red and grey crystal beads in-progress with scissors
The superduos stand upwards like a crown around the bauble ring


The result of my aforementioned error, was such that the mesh barely fitted around the bauble. Swarovski rivoli backs are foiled, pointed and a little sharp. So the result of squeezing this poor little bauble into the netting, was unsurprisingly, scratches all over the bauble. Doweth.

To shield my lucky recipient from this clunky incompetence, I used some beading glue to hold the rivolis in place over the embarassing scratches.

Totally worth it. I'm thrilled with the finished result.

I'm pretty happy with how it turned out, even if the other half decided that it looked like 'something the devil would hang on his Christmas tree'. Why would the devil have a Christmas tree in the frikking first place??!

Merry Christmas, everyone! Freddie

Saturday, 10 November 2018

Fossil hunting in Durdle Door, England - an attempt

As a child I collected seashells (which alarmingly back then also included corals - thank gooness that doesn't happen any more!). And spent many a summer on the Isle of Wight - which is chock-full-o-fossils.

I've always loved nature, I guess - now working at ZSL London Zoo, I'm famously the only weirdo in the office more interested in the bee species flying around the Zoo than the large mammals on show. And proudly so.

My unloved wide angle camera lenses got a real run for their money with this breathtaking scenery.
 A trip to UNESCO world heritage site Durdle Door, on the southern Jurassic Coast of England, seemed right up my alley. Foraging for hundreds-of-millions-of-years-old remnants of aquatic creatures against a backdrop of night skies glittering with stars away from light pollution? It wasn't a hard ask.

I love seeing England anyway. I'm not enamoured by sweaty sunburnt trips abroad.

We booked 5 nights at a camping pod (even the park owners seemed surprised by that decision) with nothing but a few books, a chess set, my camera and of course each other, to keep ourselves amused of an evening.
Venturing south in October meant we pretty much had the park to ourselves
It was fantastic. Upon arrival we couldn't wait to make the short (but incredibly steep) hike down to the beach to see what we could find.

The beach is filled with rocks to investigate
We spent several hours in our wellies bashing through chunks of chalk on the beach, picking up pebbles and chucking them back. By the time the tide turned to come in, we'd found nothing.

Or at least, we thought we hadn't.

Several days after returning, we had a squiz round Google and found that the markings on nearly every stone we found were indicative of treasured trilobites within. If only we'd bothered to look at how to find fossils before we went.

It's our style to chance things, and I've since found a fabulous forager on eBay who knows what she is doing. Thankfully she is a frequent finder and is able to supply me for my handmade fossil jewellery. Sadly the vision of my finding my own, was short-lived!

This Jurassic Coast fossil had a small hole at the centre which I plugged with an emerald Swarovski crystal.
You should know that there are plenty of tours on offer with fossil-finding experts while you're down on the Jurassic Coast. While I haven't tried one, anything has got to be better than the nothingness we experienced! Give it a go. We had fun regardless but it would be all the more rewarding to actually come back with a find!